Due to an emergency family situation, I'll be taking some time off this week from blogging. Thanks in advance for understanding.

Monday, July 30, 2012

Friday, July 27, 2012
NomNom: Chicken Chimichangas
I love mexican food and that is a fact. The bright flavors that are usually involved in this cuisine just sings to my food loving heart--no lie. Several years ago I went to visit my friend in San Francisco and he took me to this glorious area known as the Mission District. It is a neighborhood where the majority of the people living there are of Mexican descent so there is obviously a plethora of Mexican food places. Bliss. I had my first taste of a "Mission burrito" and it was pure....joy. Chipotle got nothing on a Mission burrito.

While browsing the magazine section of the supermarket about a month ago, I noticed the new issue of Cook's Illustrated with the title in bold print: "Mexican Favorites." Now I don't know if you've noticed by now, but I am a huge fan of recipes from the fine people of Cook's Illustrated/America's Test Kitchen, so it was an obvious decision to buy the magazine. Zing.
 The first thing I decided to cook was this chicken chimichanga recipe and am SO happy I did because it really set the bar for my expectations on the rest of the recipes in the magazine. I love chimichangas because it's a burrito with a twist. It has a little oomph in it because these babies are deep fried. Can you just picture what happens to the fillings when it enters that oil, all rolled up in a tortilla? The cheese gets oozy and the tortilla shell becomes crispy and slightly flaky. It's glorious.


 These are best eaten hot out of the oil with toppings such as sour cream, guacamole, and salsa. I made a quick pico de gallo prior to making the chimichangas so the flavors could marinate in the fridge while I was prepping the chimichangas. Good decision on my part.
Please make these so we can share our penchant for Mexican cuisine. Have a great weekend. xo.
Ingredients (Adapted from Cook's Illustrated: Mexican Favorites 2012) Serves 4
1 1/4 cup low-sodium chicken broth
1 tablespoon minced canned chipotle chile in adobo sauce
1/2 cup long-grain white rice
salt and pepper
2 (6-ounce) boneless, skinless chicken breasts, trimmed
1 tablespoon plus 3 cups peanut or vegetable oil
1 onion, chopped fine
2 garlic cloves, chopped fine
1 teaspoon chili powder
1/2 teaspoon ground cumin
1 (15-ounce) can pinto beans, rinsed
4 ounces sharp cheddar cheese, shredded (1 cup)
1/3 cup chopped fresh cilantro
1 tablespoon all-purpose flour
1 tablespoon water
4 (10-inch) flour tortillas
Procedure
1. Whisk broth and chipotle together in 2 cup liquid measuring cup. Combine 1/2 cup chipotle broth, rice, and 1/4 teaspoon salt in bowl. Cover bowl and microwave until liquid is completely absorbed, about 5 minutes. Meanwhile, pat chicken dry with paper towels and season with salt and pepper.
2. Heat 1 tablespoon oil in Dutch oven over medium-high heat until just smoking. Add onion and cook until softened, about 5 minutes. Stir in garlic, chili powder, and cumin and cook until fragrant., about 30 seconds. Add remaining 3/4 cup chipotle broth, parcooked rice, and beans and bring to boil.
3. Reduce heat to medium-low, add chicken and cook, covered, until chicken registers 160 degrees and rice is tender about 15 minutes, flipping chicken halfway through. Transfer chicken to cutting board and let rest for 5-10 minutes. Cut chicken into 1/2 inch pieces and combine with rice and bean mixture, cheddar, and cilantro in large bowl. Wash now-empty pot.
4. Whisk flour and water together in bowl. Stack tortillas on plate and microwave, covered, and pliable, about 1 minute. Working with 1 at a time, place one-quarter of chicken mixture in center of warm tortilla. Brush edges of tortilla with flour paste. Wrap top and bottom of tortilla tightly over filling. Brush ends of tortilla with paste and fold into center, pressing firmly to seal.
5. Heat remaining 3 cups oil in clean pot over medium-high heat to 325 degrees. Place 2 chimichangas, seam side down, in oil. Fry, adjusting burner as necessary to maintain oil temperature between 300 and 325 degrees, until the chimichangas are deep golden brown about 2 minute per side. Drain on wire rack and set inside rimmed baking sheet. Bring oil back to 325 degrees and repeat with remaining chimichangas. Serve.
Please make these so we can share our penchant for Mexican cuisine. Have a great weekend. xo.
Ingredients (Adapted from Cook's Illustrated: Mexican Favorites 2012) Serves 4
1 1/4 cup low-sodium chicken broth
1 tablespoon minced canned chipotle chile in adobo sauce
1/2 cup long-grain white rice
salt and pepper
2 (6-ounce) boneless, skinless chicken breasts, trimmed
1 tablespoon plus 3 cups peanut or vegetable oil
1 onion, chopped fine
2 garlic cloves, chopped fine
1 teaspoon chili powder
1/2 teaspoon ground cumin
1 (15-ounce) can pinto beans, rinsed
4 ounces sharp cheddar cheese, shredded (1 cup)
1/3 cup chopped fresh cilantro
1 tablespoon all-purpose flour
1 tablespoon water
4 (10-inch) flour tortillas
Procedure
1. Whisk broth and chipotle together in 2 cup liquid measuring cup. Combine 1/2 cup chipotle broth, rice, and 1/4 teaspoon salt in bowl. Cover bowl and microwave until liquid is completely absorbed, about 5 minutes. Meanwhile, pat chicken dry with paper towels and season with salt and pepper.
2. Heat 1 tablespoon oil in Dutch oven over medium-high heat until just smoking. Add onion and cook until softened, about 5 minutes. Stir in garlic, chili powder, and cumin and cook until fragrant., about 30 seconds. Add remaining 3/4 cup chipotle broth, parcooked rice, and beans and bring to boil.
3. Reduce heat to medium-low, add chicken and cook, covered, until chicken registers 160 degrees and rice is tender about 15 minutes, flipping chicken halfway through. Transfer chicken to cutting board and let rest for 5-10 minutes. Cut chicken into 1/2 inch pieces and combine with rice and bean mixture, cheddar, and cilantro in large bowl. Wash now-empty pot.
4. Whisk flour and water together in bowl. Stack tortillas on plate and microwave, covered, and pliable, about 1 minute. Working with 1 at a time, place one-quarter of chicken mixture in center of warm tortilla. Brush edges of tortilla with flour paste. Wrap top and bottom of tortilla tightly over filling. Brush ends of tortilla with paste and fold into center, pressing firmly to seal.
5. Heat remaining 3 cups oil in clean pot over medium-high heat to 325 degrees. Place 2 chimichangas, seam side down, in oil. Fry, adjusting burner as necessary to maintain oil temperature between 300 and 325 degrees, until the chimichangas are deep golden brown about 2 minute per side. Drain on wire rack and set inside rimmed baking sheet. Bring oil back to 325 degrees and repeat with remaining chimichangas. Serve.
Wednesday, July 25, 2012
A Colorful Summer


Photos courtesy of Sung Shin
Shirt-H&M
Skirt-Abercrombie&Fitch
Shoes-Dolce Vita
Sunglasses-Stella McCartney
Bracelet-Hermes
Happy Wednesday everyone! I mentioned in my last outfit post that I bought the skirt version of this dress I wore HERE. I love the vibrant green color which screams summer to me and wanted to pair it against this beautiful cobalt blue blouse. The colors of the blouse and skirt are fun, flirty, and perfect to wear during these summer days. I like to keep colors in my outfits consistent which is what I wanted to do this time with my accessories (shoes, bracelet, and belt).
Have a great rest of the work week and I'll talk to you soon. xo.
Monday, July 23, 2012
Weekend Snapshots


This weekend I...
1. Made some brown butter brownies w/walnuts using a recipe from Bon Appetit while the boy assembled a new desk chair for me. Since he loves anything chocolate, this home cooked dessert was his reward;)
2. Also made pork dumplings. I will definitely have a recipe post for you on these soon because these are worth making if you love dumplings. This weekend was a rainy one in Washington, DC which usually makes me want to stay in and bake/cook.
3. Took a trip out to Ikea to look at frames, plants, and other random things. I couldn't resist leaving the place w/o eating their famous Swedish meatballs. SO good.
4. Saw the much anticipated and worth seeing movie, The Dark Knight Rises. While waiting in the long line to get into the theatre, I couldn't resist getting some froyo from Pinkberry which was nearby. Regarding the movie though, it's a must see. Lets just put it this way--this is my favorite summer movie I've seen so far.
5. Had an intense craving for sushi so the boy took me to favorite go to sushi place in MD--Yuraku.
How was your weekend?
Friday, July 20, 2012
NomNom: Strawberry Yogurt Popsicles

When I think of summer fruits, my mind turns to watermelon, cherries, and strawberries. Lately I've been on a strawberry kick and have been eating them as is or cooking them in recipes I've come across, particularly this one that involved these fruits to turn into popsicles. With the summer heat wave we've been experiencing recently on the East coast, what better way to cool down from the scorching temperatures then with refreshing popsicles?
By the way, this was my first time making popsicles and I can't even believe to tell you how easy they are to make. High five for easy snacks.

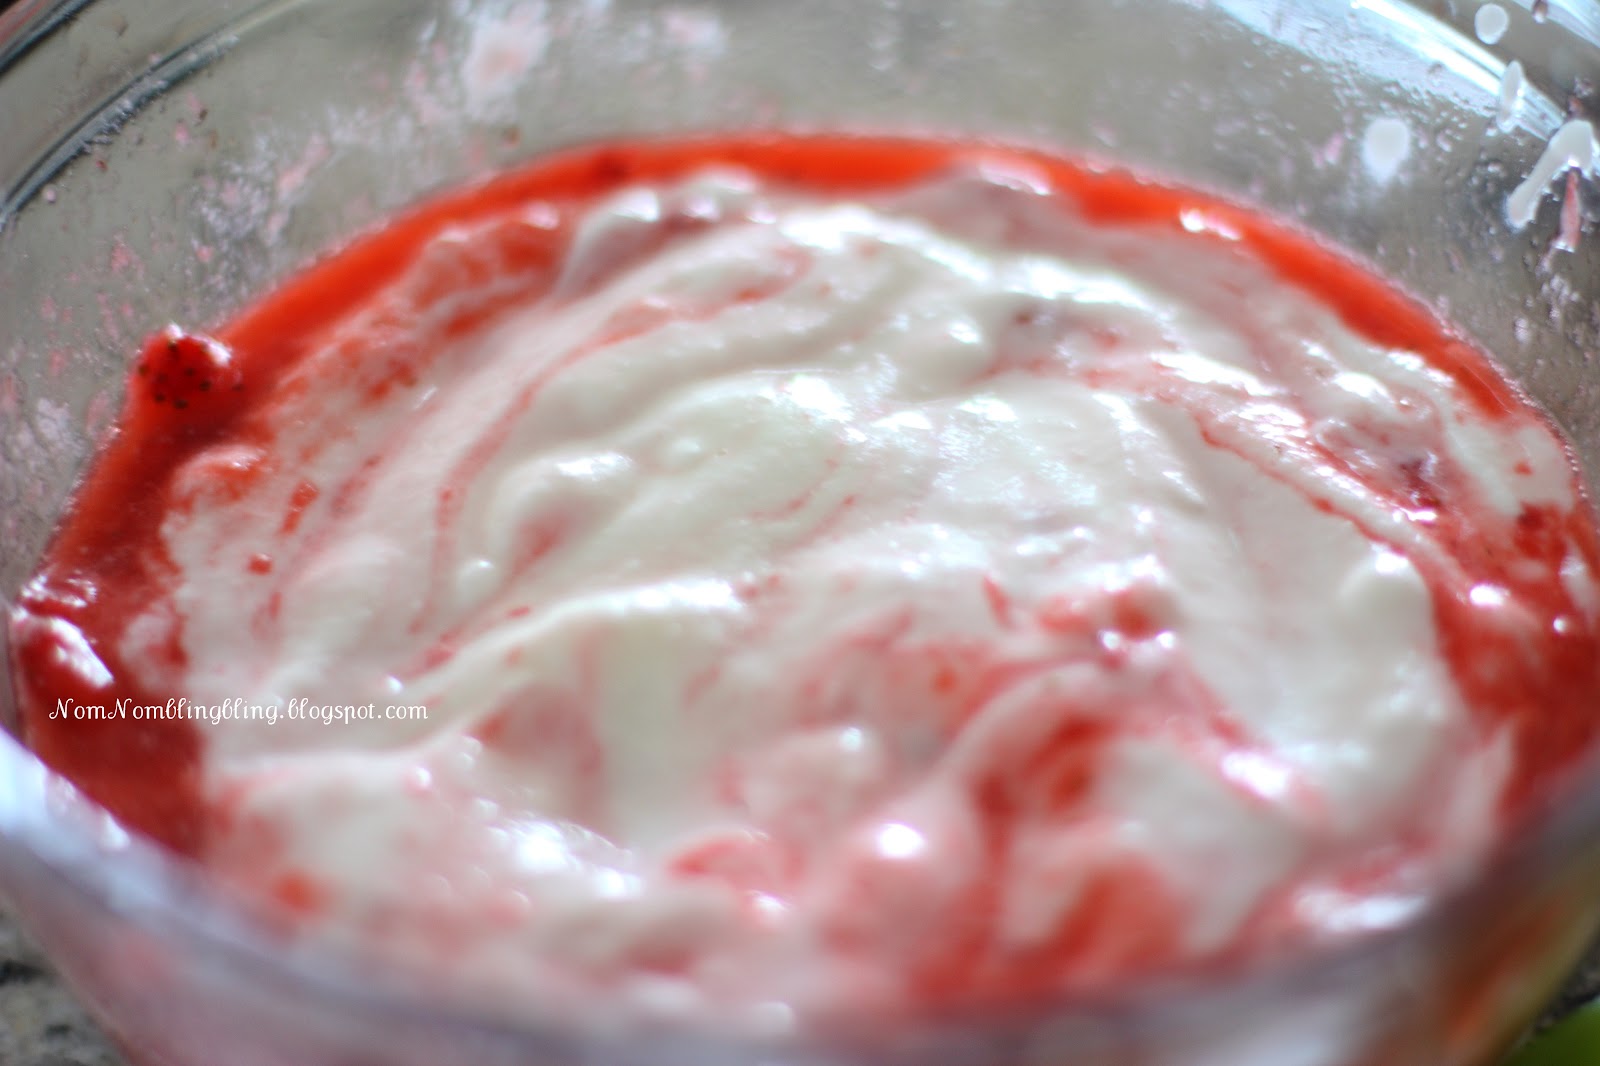
Mixing yogurt gives the popsicles a creamy, smooth taste. Smooth like butter.

Btw, please check out the Washingtonian article I (along with other fashion bloggers) was featured on yesterday regarding summer outfit ideas HERE!
Have a great weekend.
Ingredients (Recipe adapted from www.thekitchn.com) Yields: 6
1 pint strawberries, hulled and roughly chopped
1/4 cup sugar
1 teaspoon lemon juice
6-8 ounces (about 1 cup) Greek yogurt
Procedure
1. Combine the strawberries and sugar in a small bowl. Let stand about 20 minutes to macerate the fruit, stirring occasionally. The fruit will soften and become syrupy.
2. Pour the strawberries and syrup into a food processor or blender. Add the lemon juice and pulse a few times until the fruit is pureed.
3. Stir the yogurt into the strawberry mixture until combined. Pour into molds and freeze for at least 8 hours or overnight. To remove, run hot water over the outside of the mold until you can gently pull the popsicle out.
Subscribe to:
Posts (Atom)